<< Több szöveg beírása | LyX grafikus túra | Képletek használata >>
Now let's include a figure. Use the toolbar button  (menu Insert→Float→Figure) and a so-called float will be inserted. (menu Insert→Float→Figure) and a so-called float will be inserted. | 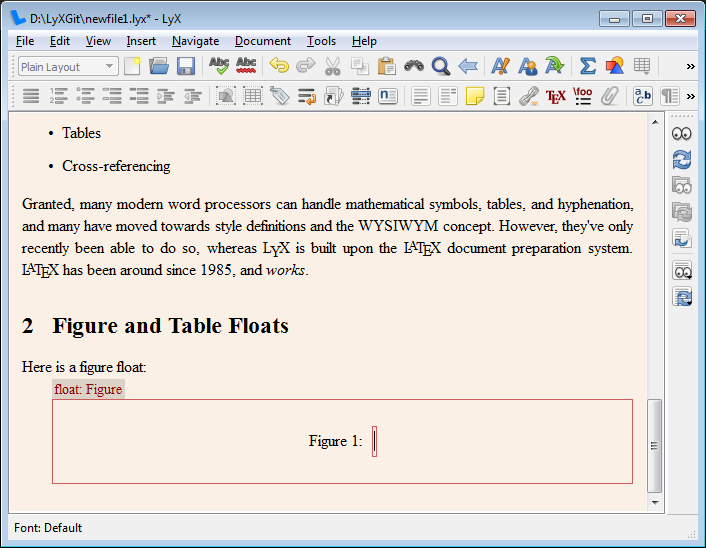 | |
| Type the caption into the box behind "Figure 1:". | 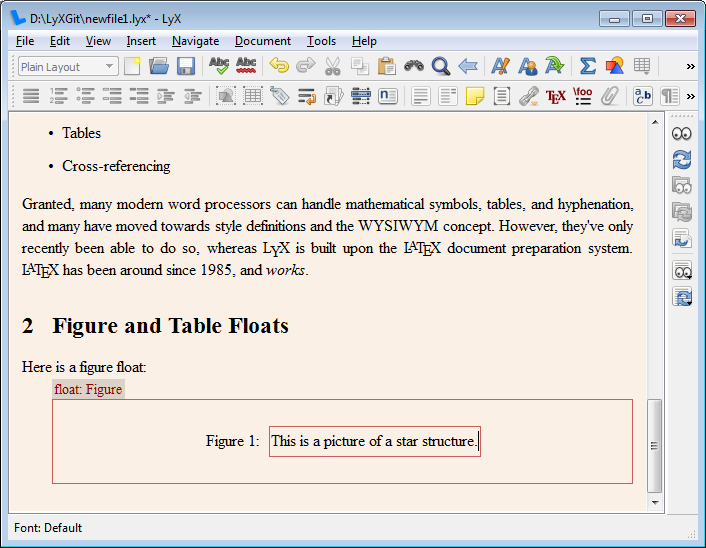 | |
Now insert the figure by putting the cursor above the caption and use the toolbar button  (menu Insert→Graphics). The Graphics dialog pops up. (menu Insert→Graphics). The Graphics dialog pops up. | 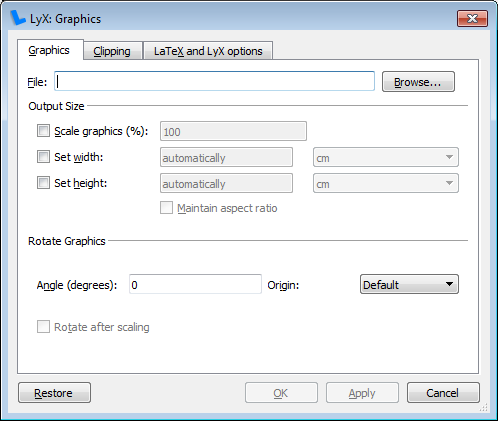 | |
| Use the file browser to find your image file. LyX supports many graphic formats and converts them automatically to the one needed by LaTeX. In the dialog you can set the scaling, rotation etc. We use 50% column width (not text width because documents can have 2 or more text columns). | 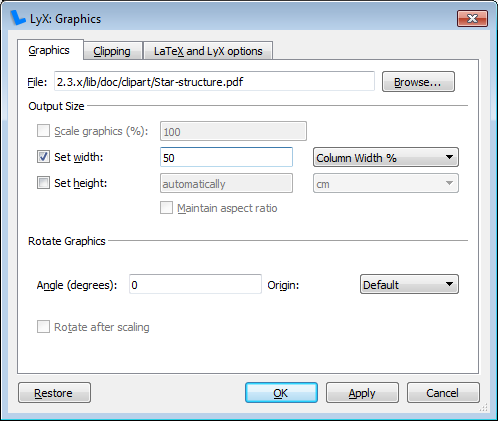 | |
| The inserted image is now shown in LyX. | 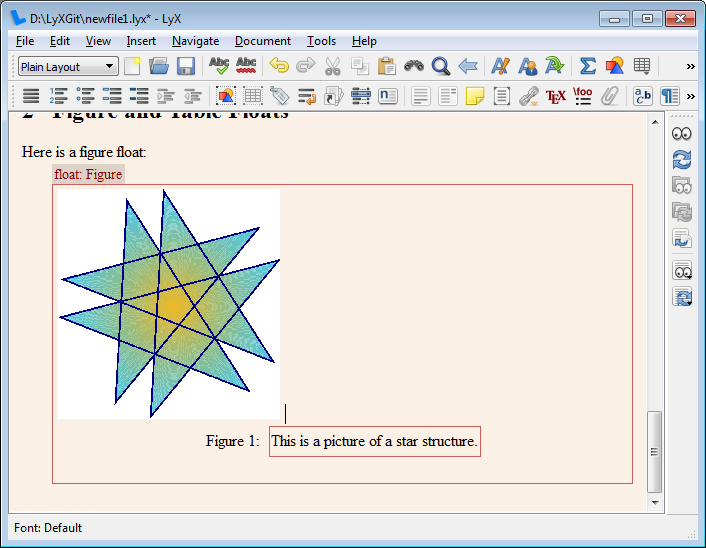 | |
The image is in its own paragraph. As we want the image to appear centered, we use the toolbar button  (menu Edit→Paragraph Settings) to make it centered. (menu Edit→Paragraph Settings) to make it centered. | 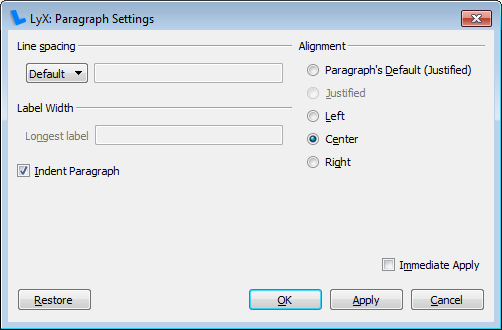 | |
| Now the float is ready and looks as we want it. | 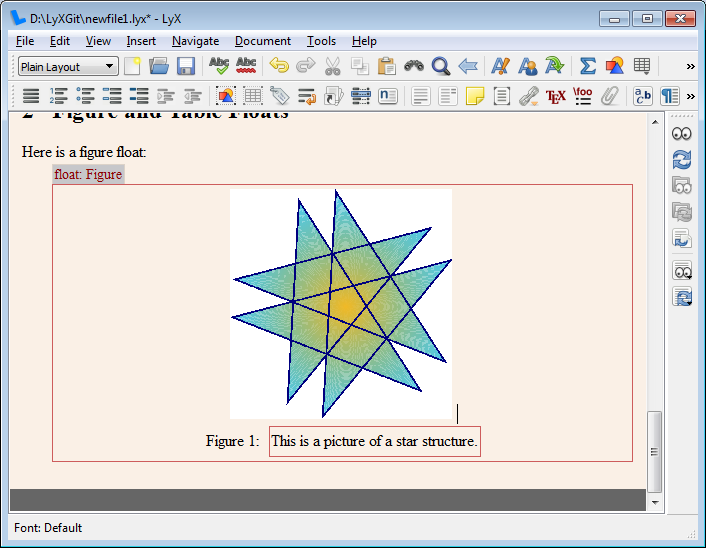 |  |
You can see that the float appears above its section because a strength of LaTeX is to place (to float) images to a position where they will look nice. However the reader needs to find them and therefore they have to be referenced in the text. To do this set the cursor into the caption and use the the toolbar button  (menu Insert→Label). The label dialog pops up. LyX propose already a name for the label. You can just use it because LyX takes care that the same name will not be used twice. (menu Insert→Label). The label dialog pops up. LyX propose already a name for the label. You can just use it because LyX takes care that the same name will not be used twice. | 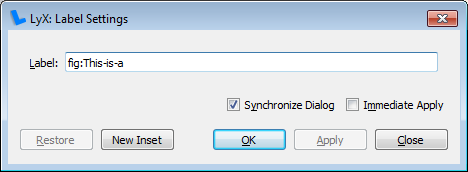 | |
| A gray box with "fig:This-is-a" appears in the caption as label. The label does not appear in the printed version. | 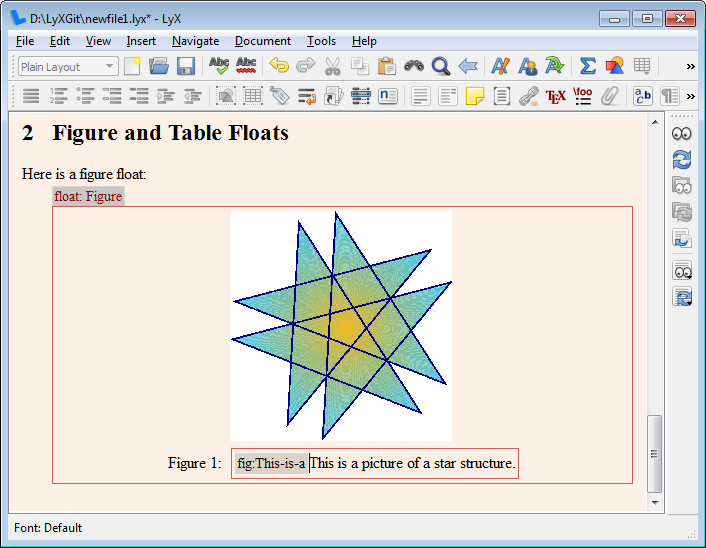 | |
Now find the sentence where you want to refer to the figure. Write there something like "see Figure ". Note the space. Now use the toolbar button  (menu Insert→Cross Reference). The Cross-reference dialog pops up. (menu Insert→Cross Reference). The Cross-reference dialog pops up. | 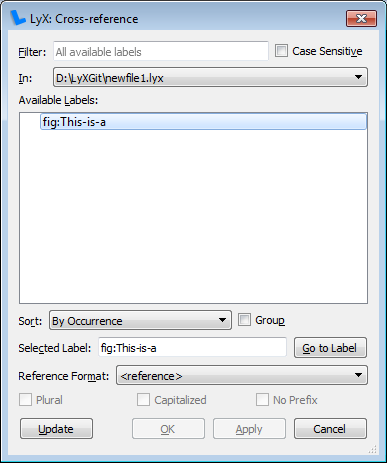 | |
| Select the label and click OK. A new gray box indicates the created reference. You never have to tell LyX that this is figure 1, it counts for you. | 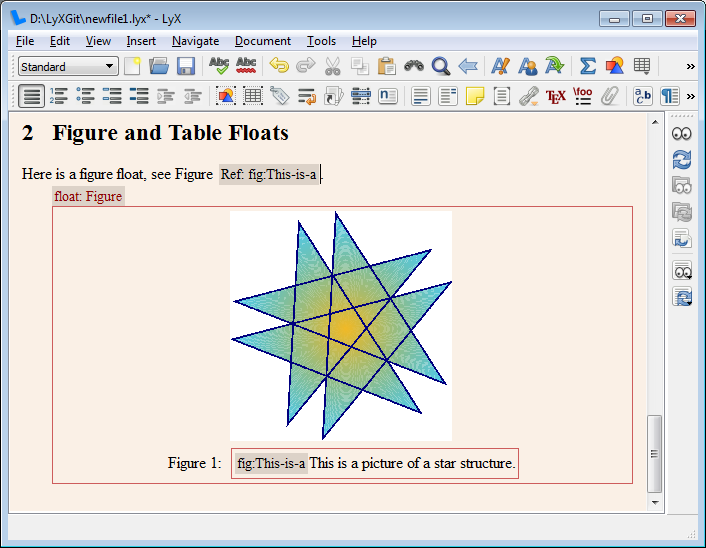 | 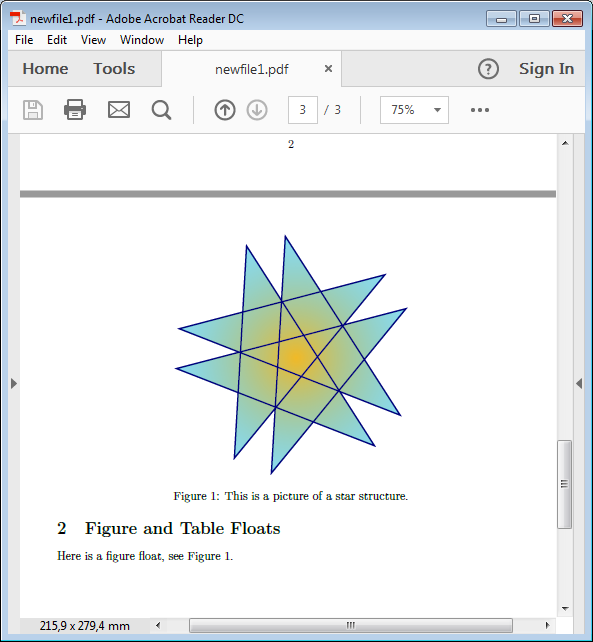 |
Let's now insert a table. Use the toolbar button  (menu Insert→Float→Table). Write something into the caption. Now set the cursor below the caption (the common rule is to have captions above tables but below figures), use the toolbar button (menu Insert→Float→Table). Write something into the caption. Now set the cursor below the caption (the common rule is to have captions above tables but below figures), use the toolbar button  (menu Insert→Table) and select there the number of rows and columns. We selected a 3 × 2 table. (menu Insert→Table) and select there the number of rows and columns. We selected a 3 × 2 table. | 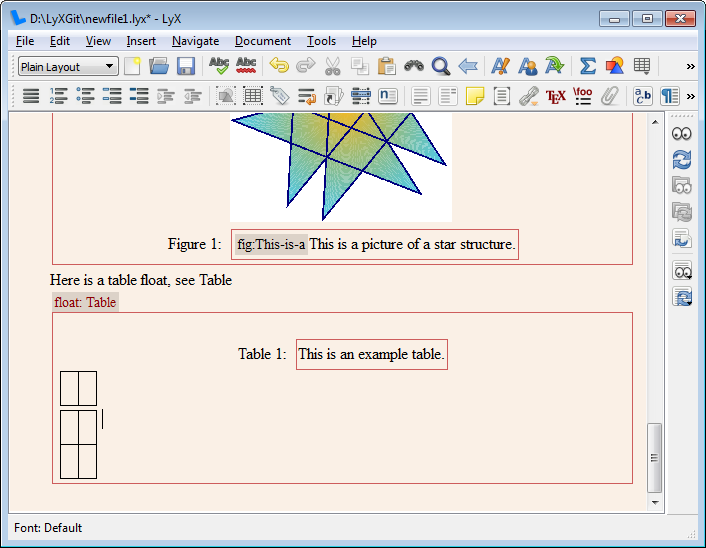 | 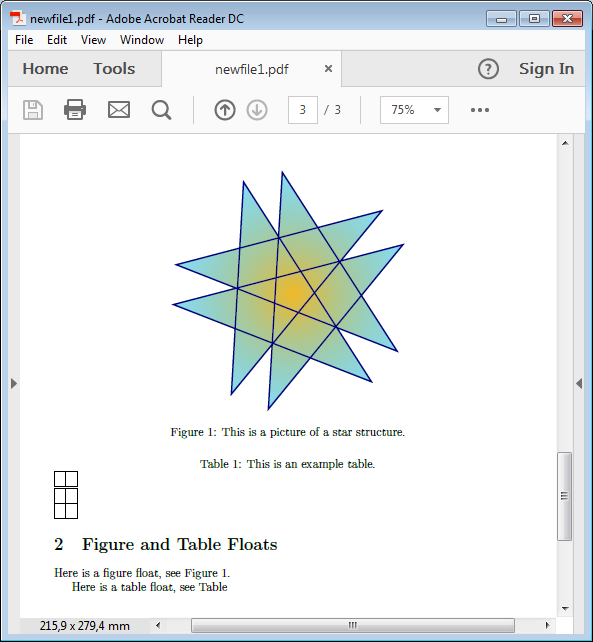 |
| Center the paragraph of the table and fill its cells with text. Note that the table toolbar appears automatically if the cursor is in the table. With this toolbar you can quickly change the table. | 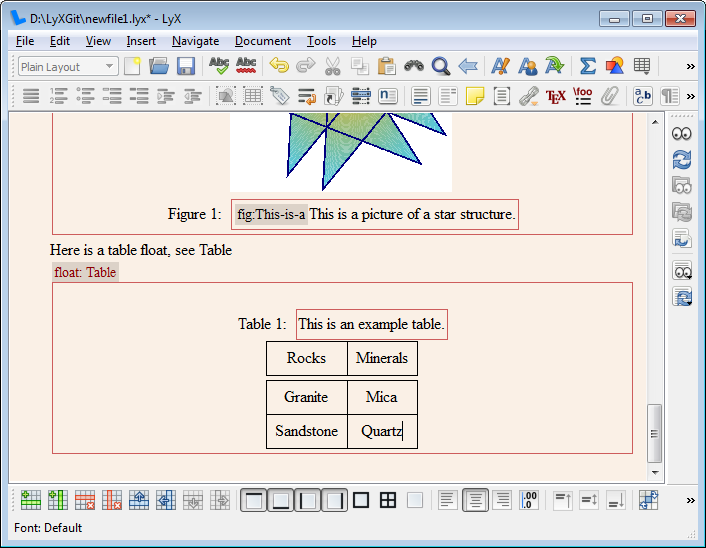 | 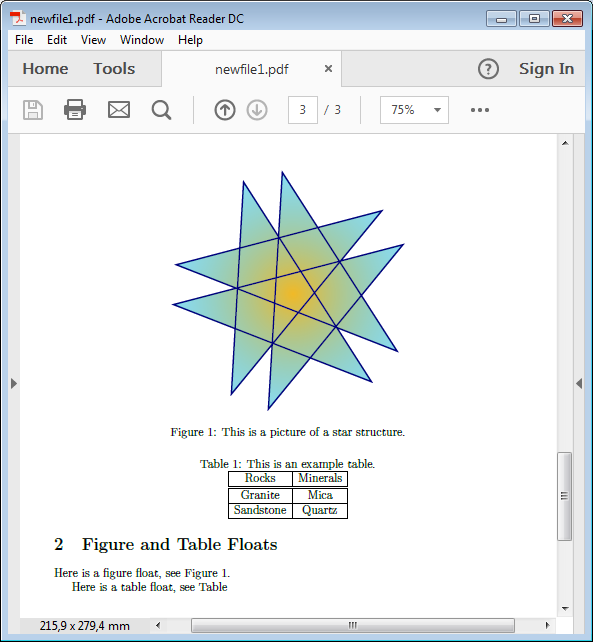 |
| A table with lines around every cell is not reader-friendly. To change this, right-click in the table and select Settings. The table settings dialog pops up. Change there to the Borders tab and select Formal. | 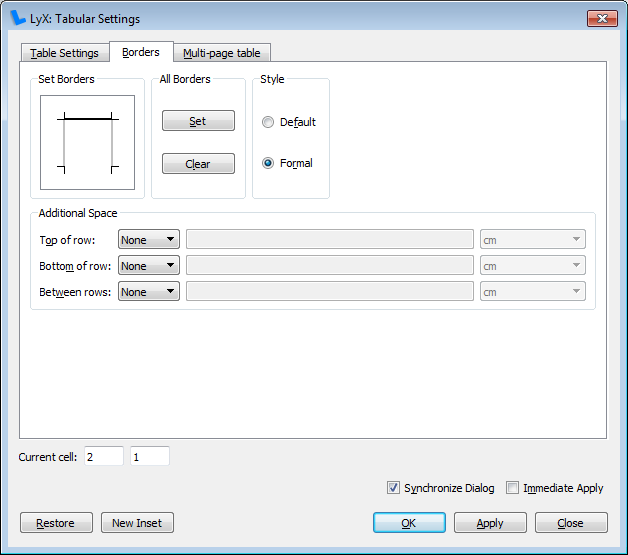 | |
| The so-called formal or booktabs style use only horizontal lines and adds some space between the cells. | 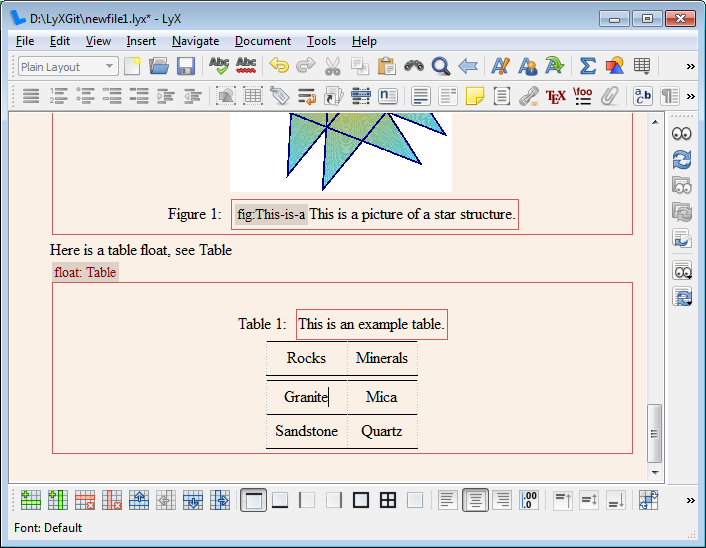 | 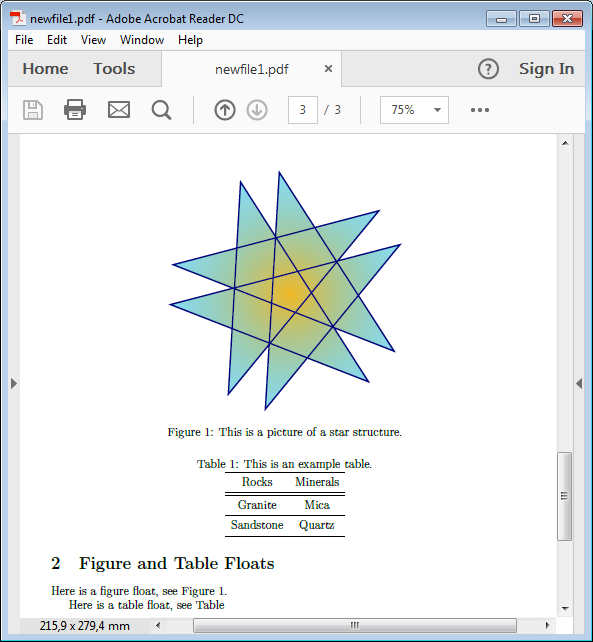 |
| Add a label to the table caption. This time reference the table by right-clicking on the label. Select Copy as Reference. Now you can insert the reference by pasting (shortcut Ctrl+v). In the PDF there is not enough space between the caption and the table. To fix this it is time to use a more versatile document class than the standard. Use the menu Document→Settings and a dialog pops up. | 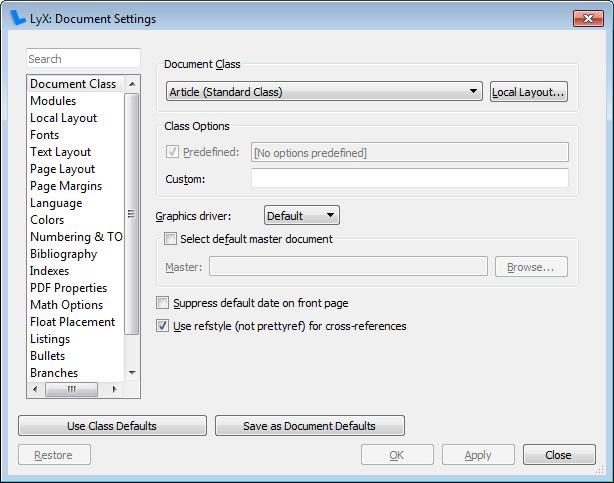 | |
| In the dialog change the document class for example to KOMA-Script Article (because the KOMA-Script classes can highly be customized). In the custom class options write captions=tableheading to get the space. | 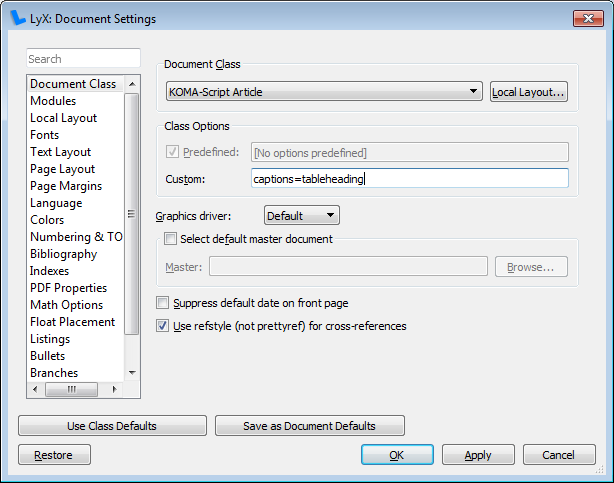 | |
| We got now the the desired customized table. | 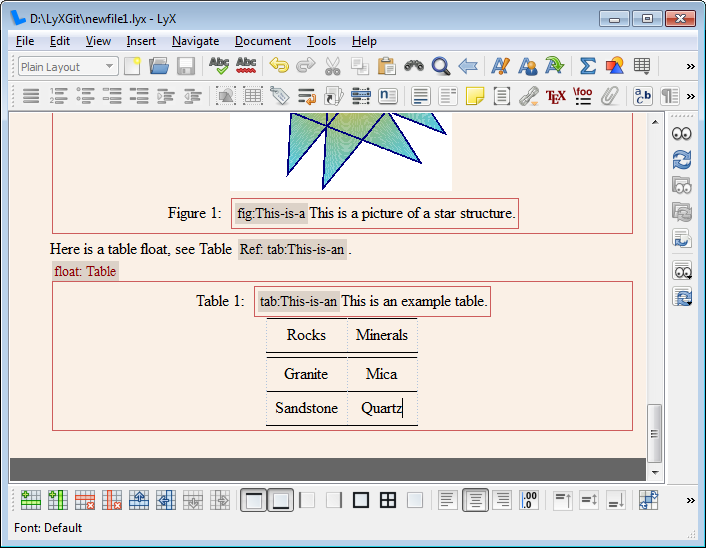 | 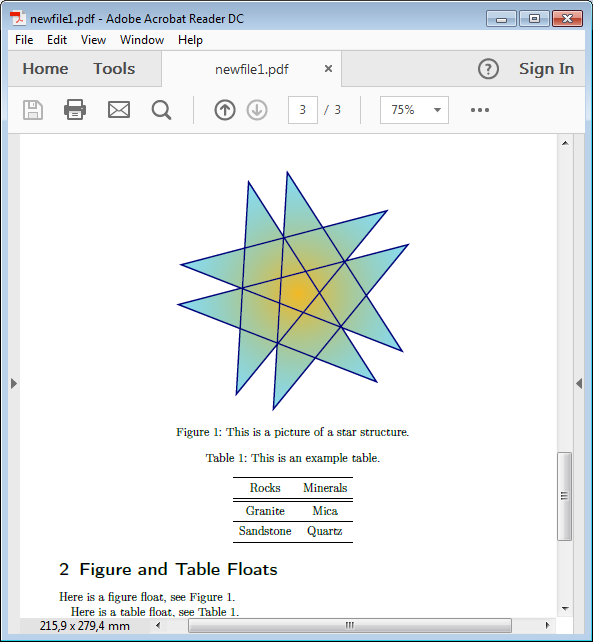 |
| -------------------- | -------------------- | -------------------- |
<< Több szöveg beírása | LyX grafikus túra | Képletek használata >>